
Introduction |
- ●●Pure, melt‑in-your‑mouth juiciness that stays intact thanks to precise searing.
- ●●A caramelized crust that adds depth without the need for fancy sauces.
- ●●Minimal prep—just season and place in a hot pan.
- ●●Versatile side options from roasted root vegetables to a crisp green salad.
- ●●Cast iron’s natural thermal retention delivers an even, consistent finish.
Essential Ingredients |
Let’s Ma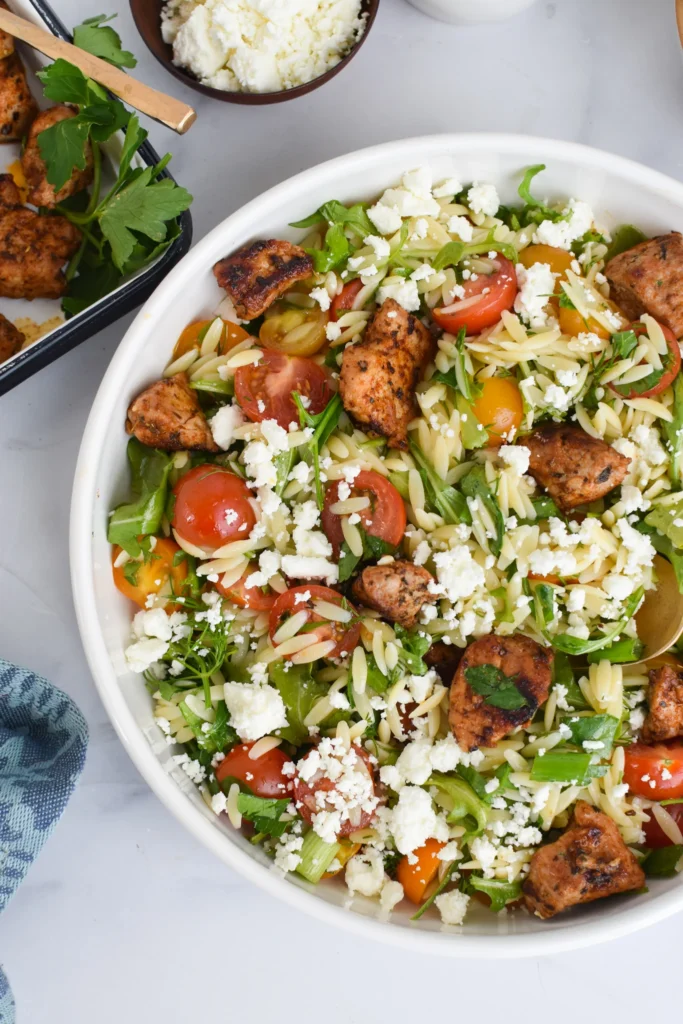 ke it Together |
- Preheat your cast‑iron skillet over medium‑high heat until it’s smoking hot, then add the olive oil.
- Pat the pork tenderloin dry with paper towels; this ensures a crisp surface.
- Season generously with salt, pepper, and garlic powder.
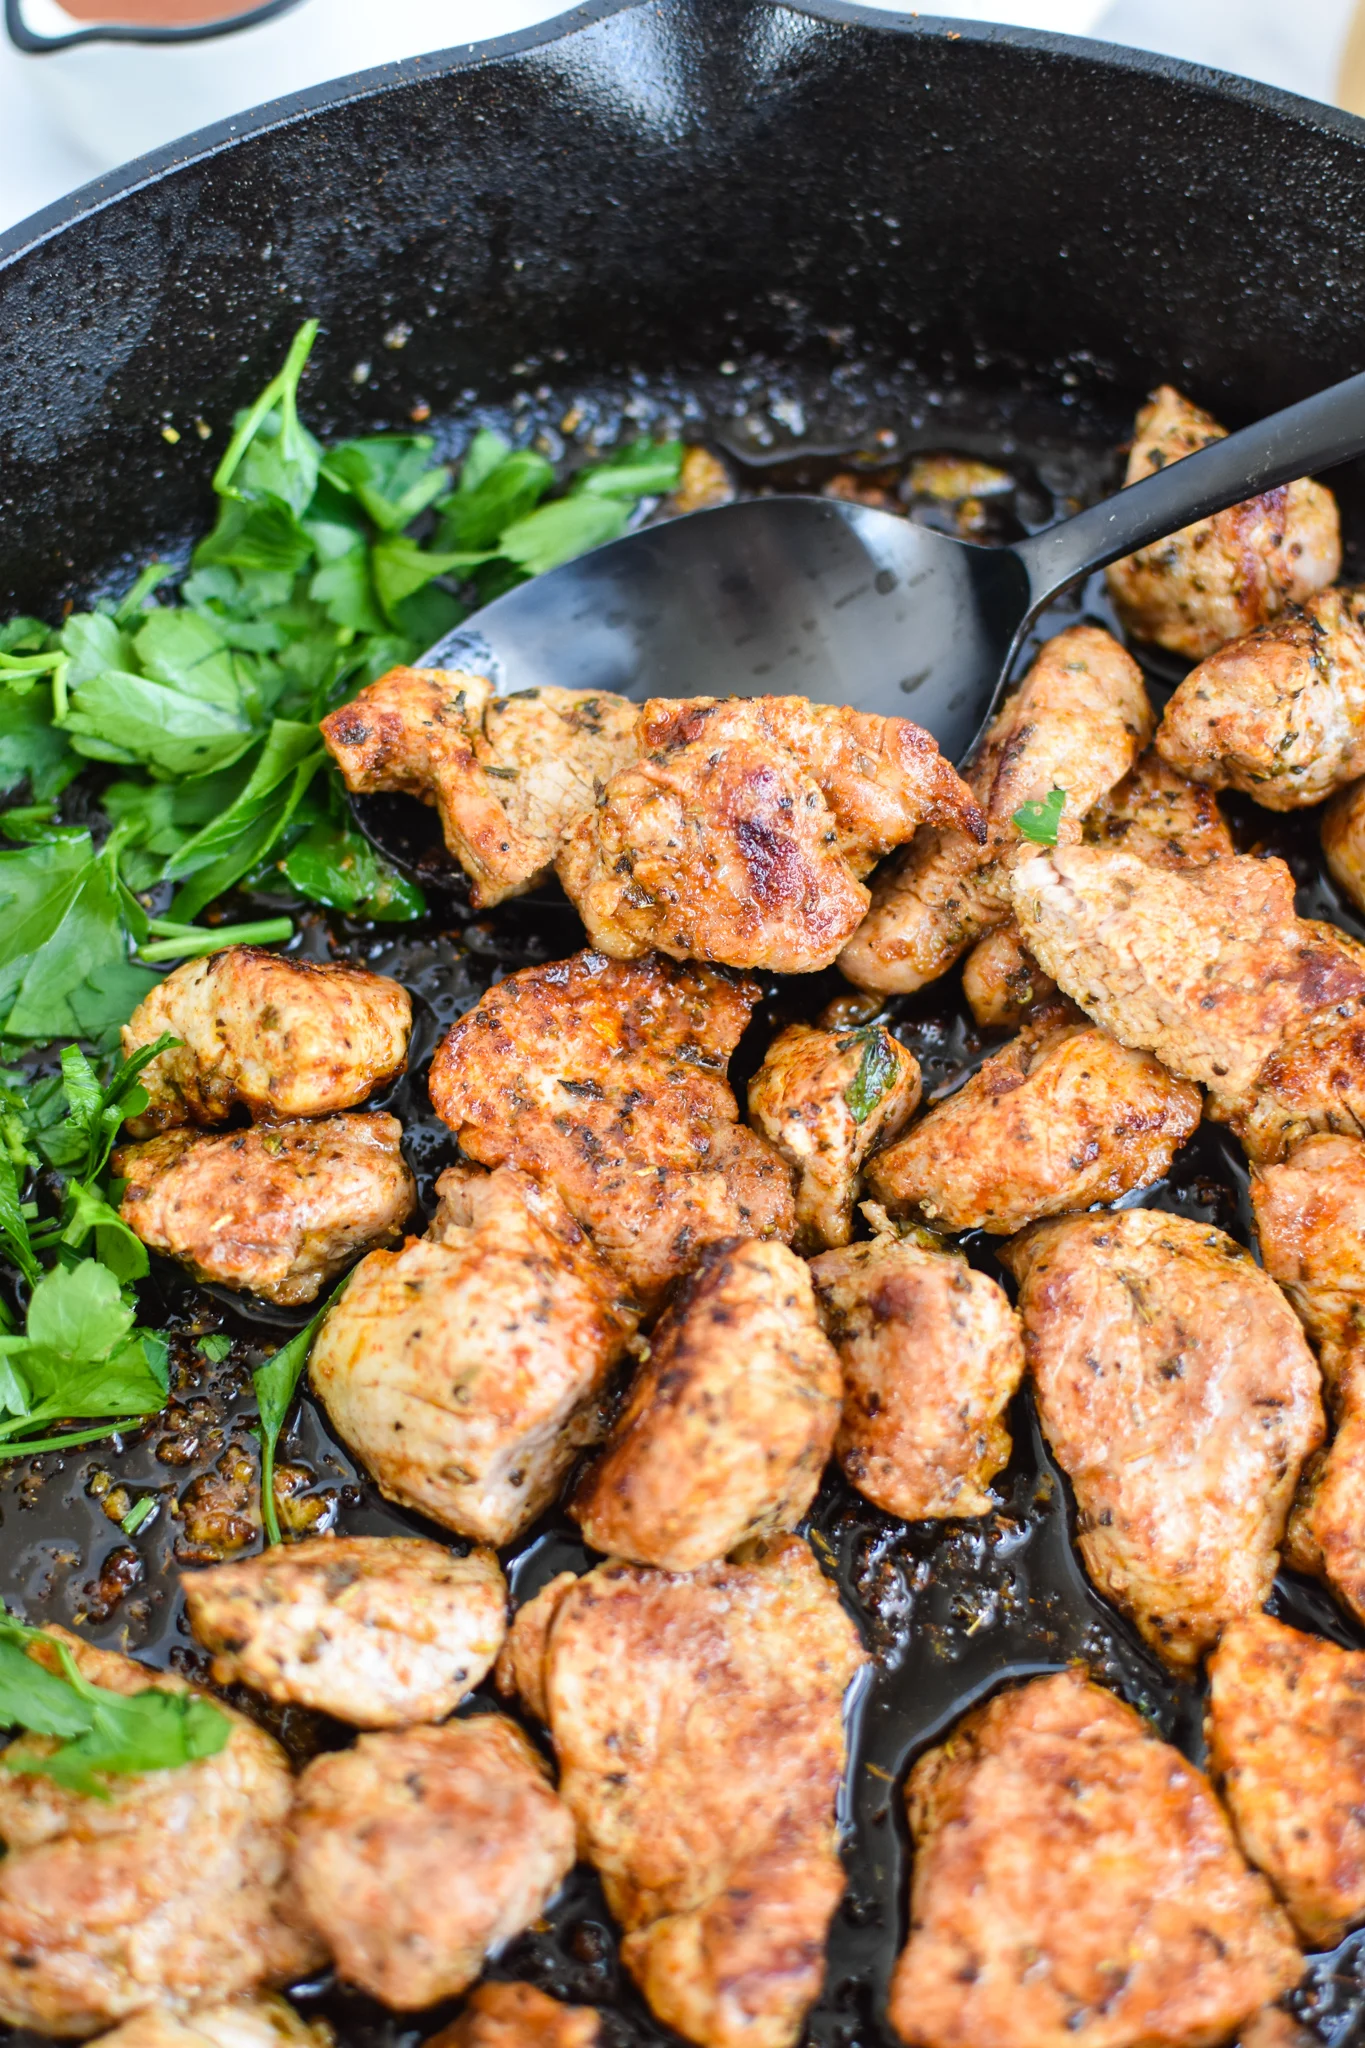
- Place the pork in the skillet, searing each side for 2–3 minutes until a golden crust forms.
- Reduce heat to medium, add the butter, rosemary, and thyme; spoon the melted butter over the pork for 8‑10 minutes, rotating to keep even browning.
- Use a meat thermometer; when the internal temperature hits 145°F (63°C), remove the pork and let it rest for at least 5 minutes before slicing.
●Do not overcrowd the pan; each side must dry before searing is complete.
●Use a thermometer to avoid overcooking; pork tenderloin can quickly become dry.
●Adding a splash of broth during the final minutes keeps the meat moist and creates a quick pan sauce.
●Let the pork rest on a cutting board, not directly on a plate; this prevents steam from softening the crust.
●Always choose a fresh, firm piece of pork—past its “sell‑by” can dull the flavor.
Perfecting the Cooking Process |
Add Your Touch |
Storing & Reheating |
●Use a meat thermometer for accuracy; 145°F guarantees juiciness with a safe level of doneness.
●Brine lightly for 30 minutes before cooking to help retain moisture if your pork tends to dry out.
●Test the crust a corner; if it lifts cleanly, you’re ready to flip.
●When resting, tent loosely with foil to keep it warm without steaming.
●Serve immediately with a drizzle of the pan sauce for maximum flavor.
FAQ |
- ●Q: Can I use bone‑in pork tenderloin? A: Yes, but cooking time will be slightly longer—aim for 150°F internal temperature.
- ●Q: Is 145°F safe according to USDA? A: Correct; USDA recommends 145°F for pork with a 3‑minute rest.
- ●Q: What side dish matches best? A: Roasted root veggies or a fresh green salad complement the pork’s flavor profile.
- ●Q: How does cast iron affect cooking time? A: It retains heat well, so you’ll notice less heat transfer from the pan, keeping the center warm while the crust cooks.
Sear‑Roasted Cast Iron Pork Tenderloin – Juicy & Crispy
A lean pork tenderloin coated in a fragrant blend of garlic and herbs, seared to a golden crust in a cast iron skillet and finished with a buttery pan sauce. The result is a tender, juicy center with a crisp exterior—ideal for a quick weeknight meal or a hearty weekend dinner.
- Prep Time: 10 minutes
- Cook Time: 15 minutes
- Total Time: 25 minutes
- Yield: 4 servings 1x
- Category: Dinner
- Method: Searing
- Cuisine: American
Ingredients
- 2 lb pork tenderloin
- 1 tablespoon kosher salt
- ½ teaspoon black pepper
- 1 tablespoon garlic powder
- 2 tablespoons olive oil
- 1/4 cup fresh rosemary, chopped
- 1 tablespoon unsalted butter
- Fresh thyme sprigs (optional)
Instructions
- Preheat a cast‑iron skillet over medium‑high heat and add olive oil.
- Pat pork dry, season with salt, pepper, and garlic powder.
- Sear pork for 2–3 minutes per side until a golden crust forms.
- Reduce heat to medium, add butter, rosemary, and thyme; spoon butter over the meat for 8–10 minutes.
- Check temperature; remove when the internal temp reaches 145°F (63°C).
- Let rest 5 minutes, then slice and serve with pan sauce.