

Adventure in a Baking Pan |
Sugar is an ancient alchemy. Most people believe cake mix is just a shortcut for the lazy, but it is actually a precisely engineered powder designed for consistent aeration and stability that is hard to mimic from scratch. Embarking on a baking journey with these bars allows you to play with texture and color without the stress of measuring a dozen individual dry ingredients.
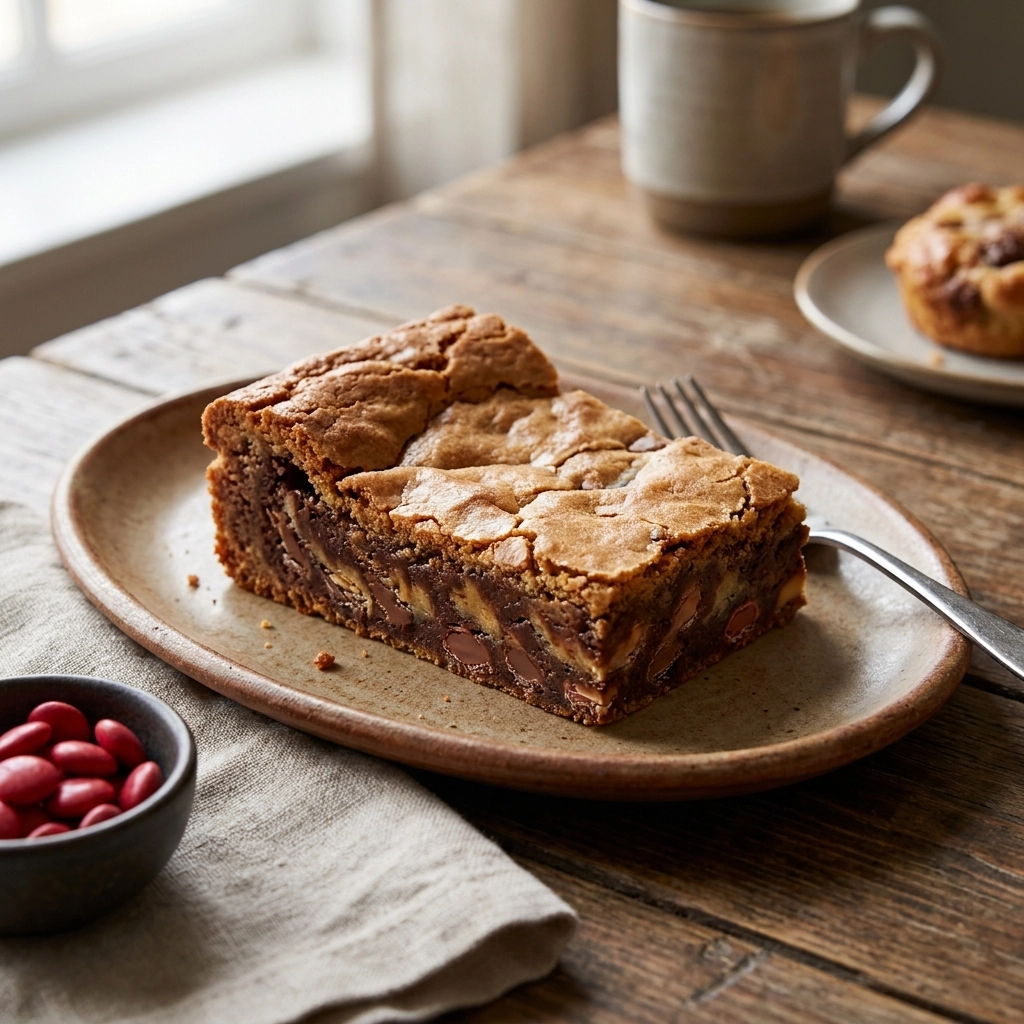
Imagine the scent of vanilla and butter filling your kitchen while the sun beats down on a July afternoon. These bars aren’t just desserts; they are a canvas for patriotic expression, combining the nostalgic chew of a cookie with the tender crumb of a cake, all topped with a vibrant explosion of festive sprinkles and candies.
Let your curiosity guide you as you stir these ingredients together, watching the batter transform from a pale gold to a rich, glossy dough. Every batch is an opportunity to tweak the sweetness or add a pinch of sea salt to balance the richness, turning a simple party treat into a personalized family tradition.
- ●The preparation time is incredibly minimal. You can go from pantry to oven in under ten minutes because the cake mix handles the heavy lifting.
- ●The texture is a hybrid masterpiece. It provides the dense, fudgy chew of a brownie but retains the light, airy sweetness of a classic celebration cake.
- ●Customization is built into the process. You can easily swap the base flavor or change the toppings to match any holiday color scheme.
- ●Cleanup is a breeze for the host. Using a single bowl and one baking pan means you spend more time with your guests and less time at the sink.
- ●The visual impact is stunning. The contrast of red, white, and blue decorations against the golden bar creates a professional look with zero professional effort.
Essential Ingredients |
White Cake Mix: I highly recommend using a name-brand mix like Betty Crocker for the most consistent rise; skipping this means you’d have to measure flour, baking powder, and salt individually.
Unsalted Butter: Kerrygold provides a richer, nuttier flavor that elevates the simple mix; omitting this results in a flat, greasy texture and a loss of that classic cookie chew.
Eggs: Farm-fresh large eggs provide the best binding and lift; if you leave them out, the bars will crumble into a sandy mess instead of holding a solid shape.
Vanilla Extract: Pure Madagascar Bourbon vanilla is the gold standard for depth; skipping it leaves the bars tasting one-dimensional and overly artificial.
Red, White, and Blue Candies: M&Ms are my go-to for a satisfying crunch; without these, you lose the festive visual identity and the playful pop of color.
Pure baking magic.
 Let’s Make it Together |
- Preheat your oven to 350°F and grease a 9×13 inch pan with non-stick spray. Ensure the oven is fully heated so the edges set immediately; avoid putting the pan in a cold oven or the bars will spread too thin.
- Melt your butter in a microwave-safe bowl until it is liquid and shimmering. Stir it gently to ensure no cold clumps remain; a common mistake is using melted butter that is too hot, which can scramble the eggs.
- Whisk in the eggs and vanilla extract until the mixture is smooth and emulsified. You should see a consistent, pale yellow color throughout; avoid over-beating, or you will incorporate too much air and cause the bars to sink.
- Fold in the dry cake mix using a sturdy spatula until no streaks of flour remain. The batter should be thick, heavy, and glossy; don’t over-mix at this stage or the bars will become tough and bread-like.
- Spread the dough evenly into your prepared pan, smoothing the top with the back of a spoon. The surface should be level to ensure even baking; avoid piling the dough in the center, as the middle will remain raw.
- Press your festive candies and sprinkles firmly into the top of the dough. The candies should be slightly embedded so they don’t roll off after baking; avoid over-loading the top, or the sugar will burn.
- Bake for 20-25 minutes until the edges are golden brown and a toothpick comes out clean. The center should have a slight jiggle but no raw batter; don’t overbake, or you’ll lose the signature cookie-bar chewiness.
Line your pan with parchment paper for an effortless release.
Avoid using salted butter to keep the sweetness balanced.
Chill the bars for one hour before slicing for clean edges.
Do not overbake or the bars will turn into dry cake.
Room temperature eggs incorporate into the butter much more smoothly.
Perfecting the Cooking Process |
Precision in temperature is the secret to the perfect hybrid texture. If your oven runs hot, the edges will caramelize too quickly, leaving the center undercooked and gooey. Use an oven thermometer to verify that 350°F is accurate, and rotate your pan halfway through the baking time to ensure the heat is distributed evenly across the batter.
Timing the removal is a delicate art. You want to pull the pan out when the edges are just beginning to pull away from the sides and look golden. If you wait until the center looks completely dry, the bars will continue to cook in the hot pan and lose their moist, cookie-like interior, resulting in a texture that is too similar to a standard sponge cake.
Add Your Touch |
Experiment with the base by using a Lemon Cake mix instead of vanilla for a zesty, summer twist. This brightens the overall flavor profile and pairs beautifully with fresh blueberries pressed into the top of the dough before baking.
For those who crave a bit more complexity, fold in a half-cup of white chocolate chips or a swirl of cream cheese frosting. Adding a sprinkle of flaky sea salt on top immediately after taking them out of the oven creates a sophisticated sweet-and-salty contrast.
Storing & Reheating |
Keep these bars in an airtight container at room temperature for up to four days. If you live in a particularly humid environment, storing them in the refrigerator will keep the candies from softening and the edges from becoming sticky.
To revive the chewy texture, pop a square into the microwave for exactly 10 seconds. This gently melts the sugars and fats, bringing back that fresh-from-the-oven feel without overcooking the delicate crumb of the cake mix.
1Use a sharp knife dipped in hot water to get perfectly square cuts.
2Sift your cake mix if you notice any large clumps in the powder.
3Apply a light dusting of powdered sugar for a snow-like effect.
4Avoid using a glass dish if you prefer a crispier bottom crust.
5Measure your butter accurately using a scale for the best consistency.
FAQ |
- ●Q: Can I use a different cake mix flavor?A: Absolutely! While white cake is traditional, yellow cake adds a richer butter flavor, and lemon cake provides a refreshing tang. Just ensure the mix is a standard 15.25 oz size to maintain the correct ratio of wet to dry ingredients for the cookie texture.
- ●Q: Why are my bars too cakey instead of chewy?A: This usually happens if you over-mix the batter or bake them for too long. Over-mixing develops gluten, which creates a bread-like structure, while over-baking evaporates the moisture that gives the bars their dense, cookie-like chewiness.
- ●Q: How do I prevent the candies from sinking?A: The trick is to press them gently but firmly into the surface just before the pan goes into the oven. If the batter is too thin, they will sink; if the batter is thick and you press them in, they will stay perched on top.
- ●Q: Can I make these gluten-free?A: Yes, you can substitute a gluten-free white cake mix and a gluten-free certified butter. However, keep in mind that gluten-free mixes sometimes require an extra egg or a tablespoon of cornstarch to help the bars hold together during the slicing process.
Festive 4th of July Cake-Mix Cookie Bars Recipe
A colorful, chewy hybrid between a cake and a cookie, perfect for 4th of July celebrations using a simple cake-mix shortcut.
- Prep Time: 10 minutes
- Cook Time: 25 minutes
- Total Time: 35 minutes
- Yield: 24 bars 1x
- Category: Dessert
- Method: Baking
- Cuisine: American
Ingredients
- 1 box (15.25 oz) White Cake Mix
- 1/2 cup unsalted butter, melted
- 2 large eggs
- 1 tsp vanilla extract
- 1/2 cup red, white, and blue M&Ms or sprinkles
Instructions
- Preheat oven to 350F and grease a 9×13 inch baking pan.
- Melt butter and stir in eggs and vanilla extract in a medium bowl.
- Stir in the white cake mix until a thick batter forms.
- Spread the batter evenly into the prepared pan.
- Top with festive candies and sprinkles, pressing lightly into the dough.
- Bake for 20-25 minutes until edges are golden brown.
- Cool completely before slicing into squares.