
Introduction |
Ever wondered why some vegetables taste like smoke? I first encountered this approach during a summer trip to Provence with a mentor named Julian. He treated the grill not as a tool for meat, but as a high-heat oven designed to transform greens through rapid caramelization. He taught me that heat is a seasoning in its own right.
Watching him work was a lesson in patience and precision. He insisted on the specific snap of the stalk and the exact moment the oil began to shimmer. We sat under a canopy of olive trees, smelling the charred earth and lemon zest, realizing that a simple stalk of asparagus could become a culinary centerpiece with the right technique.
- ●The Maillard reaction creates a nutty, complex flavor profile. This chemical process transforms natural sugars into a savory crust that elevates the vegetable.
- ●Textural contrast is achieved through high-heat searing. You get a crisp outer layer while the core remains succulent and tender.
- ●Citric acid from fresh lemon brightens the heavy char. The acidity cuts through the oil to wake up the palate.
- ●Minimal ingredient overhead ensures the natural flavor shines. Using only high-quality fats allows the earthy essence of the asparagus to lead.
- ●Versatility makes this a reliable accompaniment for any protein. It pairs equally well with a seared steak or a delicate piece of salmon.
Essential Ingredients |
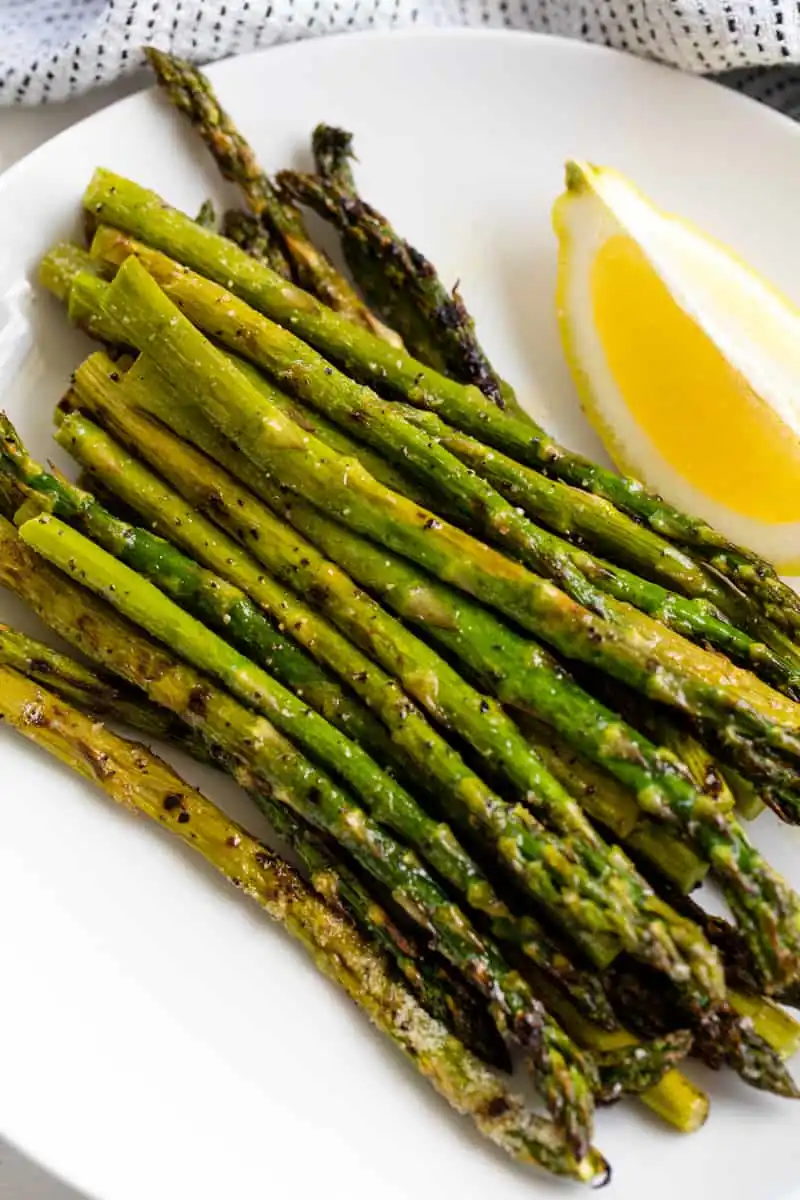
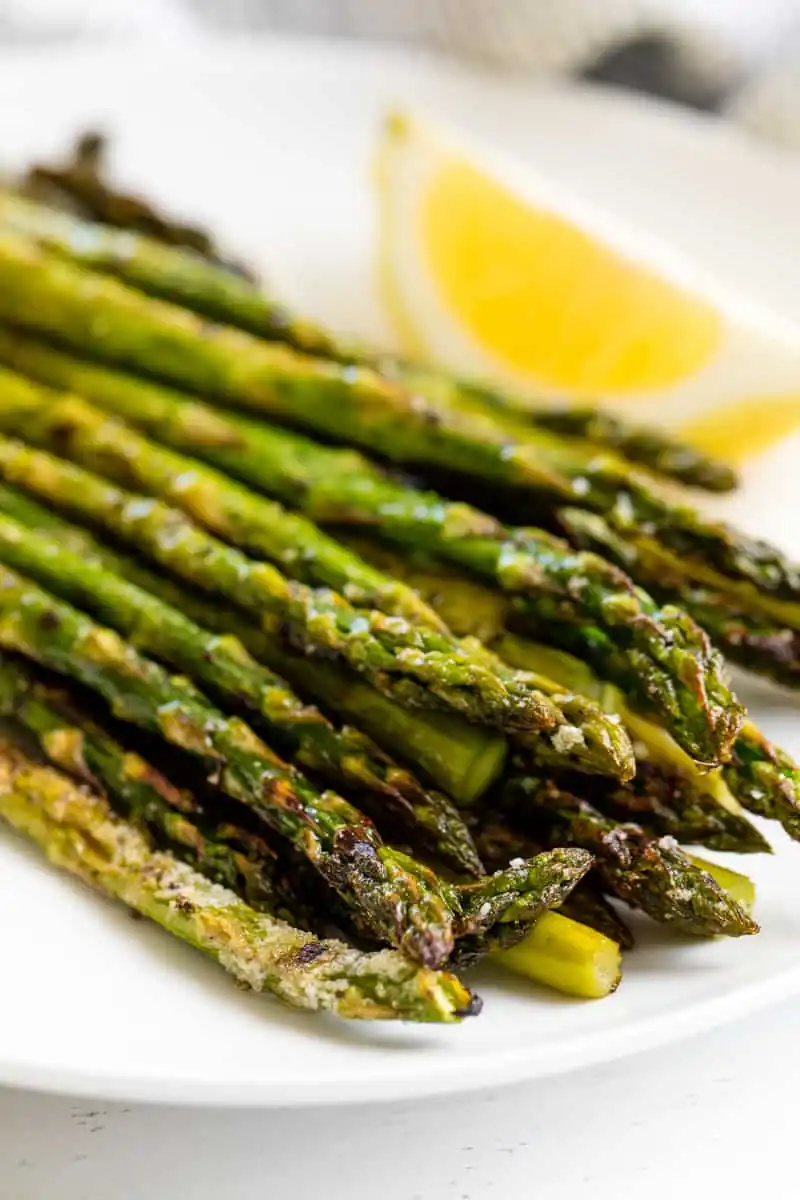
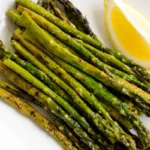
Fresh Asparagus serves as the structural foundation. The fibrous stalks provide the necessary rigidity to withstand high heat without collapsing into a mushy state.
Extra Virgin Olive Oil acts as the primary heat conductor. Its high smoke point allows the vegetable to sear quickly while protecting the delicate nutrients from burning.
Kosher Salt is utilized for moisture extraction. to the surface through osmosis, the salt facilitates a more effective sear and enhances the intrinsic saltiness of the plant.
Freshly Cracked Black Pepper adds an alkaloid heat. This provides a pungent contrast to the sweetness of the charred tips, creating a balanced flavor profile.
Fresh Lemon Juice introduces a critical pH balance. The acidity breaks down the bitterness associated with charring, resulting in a clean and vibrant finish.
 Let’s Make it Together |
- The prep: Wash the asparagus thoroughly and pat it dry with a towel. Excess moisture creates steam, which prevents a proper sear.
- The trim: Snap the woody ends off the stalks or slice them with a knife. You want to remove only the tough, fibrous bottom portion.
- The coat: Toss the spears in a bowl with olive oil, salt, and pepper. Ensure every inch is coated to prevent sticking to the grill grates.
- The heat: Preheat your grill to medium-high heat. The grates should be hot enough that water droplets dance and evaporate instantly.
- The sear: Lay the asparagus perpendicular to the grill bars. Press them down slightly to ensure maximum contact with the hot metal.
- The flip: Rotate the spears every three minutes using tongs. Stop when you see distinct char marks and a tender-crisp texture.
- The finish: Remove from the heat and immediately drizzle with fresh lemon juice. The heat of the vegetable helps the juice penetrate the fibers.
Avoid overcrowding the grill surface. Too many spears lower the temperature and cause steaming.
Always use a grill basket for very thin spears. This prevents them from falling through the grates.
Do not over-salt before grilling. Salt can draw out too much moisture, making the stalks limp.
Check for tenderness center of the stalk. It should have a slight give but not be soft.
Avoid using non-stick sprays. They can leave a chemical residue and create flare-ups on an open flame.
Perfecting the Cooking Process |
Temperature management is the most critical element of this process. You need a surface temperature around 400 degrees Fahrenheit. If the grill is too cold, the asparagus will boil in its own juices. If it is too hot, the tips will carbonize before the center cooks through. Balance is key. Monitor the heat closely.
Timing varies based on the diameter of the stalks. Thick spears require a slower approach, perhaps five to seven minutes. Thin spears cook in three minutes. Watch for the color change. A deep, vibrant green turning toward a charred brown indicates the optimal window for removal.
Add Your Touch |
Consider a dusting of grated Parmesan cheese immediately after removing the spears from the heat. The residual warmth melts the cheese into a salty, creamy coating that complements the lemon.
For a different profile, swap the lemon for a drizzle of balsamic glaze. The concentrated sweetness of the reduction provides a sophisticated, tangy contrast to the smoke of the grill.
Storing & Reheating |
Store any remaining spears in an airtight container in the refrigerator. They will remain viable for three days. Keep them separated from other moisture-heavy vegetables.
Reheat them quickly in a hot skillet with a touch of butter. Avoid the microwave. Microwaving ruins the texture, turning the spears rubbery and limp.
1Use a microplane for the lemon zest. Zest adds more aromatic depth than juice alone.
2Soak raw asparagus in cold water for ten minutes. This hydrates the stalks for a better snap.
3Keep a bowl of ice water nearby. This is for blanching if you prefer a softer texture.
4Apply the oil using a brush for precision. This prevents pooling and reduces flare-ups.
5Rest the vegetables for two minutes before serving. This allows the internal heat to stabilize.
FAQ |
- ●Q: How do I know when the asparagus is finished cooking?A: The asparagus is ready when the stalks are tender but still retain a slight snap when broken. Look for distinct, dark brown char marks on the exterior while the color remains bright green.
- ●Q: Can I use frozen asparagus for this method?A: Frozen vegetables contain too much moisture for high-heat grilling. They will steam rather than sear, resulting in a mushy texture that lacks the characteristic smoky flavor of fresh stalks. Always keep in mind that results can vary depending on your specific ingredients, equipment, and kitchen conditions, so taste as you go and adjust accordingly for the best outcome.
- ●Q: What is the best way to trim the ends without wasting vegetable?A: Grip the stalk and bend it until it snaps naturally. This occurs at the exact point where the woody texture ends and the tender part begins, ensuring zero waste. It is worth taking your time with this step — patience and attention to detail make a noticeable difference in the final texture, flavour, and presentation of the finished dish.
- ●Q: Why did my asparagus stick to the grill grates?A: This usually happens because the grill was not hot enough or the vegetables were not sufficiently oiled. Ensure the grates are searing hot and the oil coat is even. For consistent results, use the freshest possible ingredients, measure carefully, and follow the step-by-step instructions closely on your first attempt before making any modifications.
Grilled Asparagus with Garlic and Lemon
A technical approach to grilled asparagus focusing on high-heat caramelization and citrus balance.
- Prep Time: 10 minutes
- Cook Time: 8 minutes
- Total Time: 18 minutes
- Yield: 4 servings 1x
- Category: Side Dish
- Method: Grilling
- Cuisine: Mediterranean
Ingredients
- 1 lb fresh asparagus spears
- 2 tbsp extra virgin olive oil
- 1/2 tsp kosher salt
- 1/4 tsp cracked black pepper
- 1 tbsp fresh lemon juice
Instructions
- Wash and dry asparagus thoroughly.
- Trim the woody ends of the stalks.
- Toss spears with olive oil, salt, and pepper.
- Preheat grill to medium-high heat.
- Place asparagus perpendicular to grates and sear for 3-5 minutes per side.
- Remove from grill and drizzle with fresh lemon juice.